

How to Clean Before Moving Without Missing a Spot

A move can turn even a well-kept home into a mess fast. Boxes collect in hallways, furniture leaves dust outlines on the floor, and the areas you do not see every day suddenly matter. Knowing how to clean before moving helps renters protect their security deposit, helps sellers leave a good impression, and gives homeowners one less task to manage on move-out day.
The best approach is not to clean everything at the last minute. Clean each room as it becomes empty, work from high surfaces down to floors, and save a final walkthrough for the details. Whether you are moving across Riverside or across town, a clear plan keeps the job manageable.
Start Cleaning Before the House Is Empty
Waiting until every box is loaded sounds efficient, but it usually creates a long, exhausting final day. Begin as soon as you start packing. Clean closets, shelves, cabinets, and storage areas once their contents are removed. This prevents you from having to return to rooms you thought were finished.
Use three containers while packing: one for items to keep, one for donations, and one for trash. Less clutter means fewer surfaces to wipe and fewer belongings to move. Check with your property manager or review your lease if you are renting. Some rentals have specific move-out expectations, such as cleaning inside appliances, removing all trash, or addressing pet hair.
Before using any cleaning product, test it in a small hidden area if you are working with natural stone, unfinished wood, delicate tile, or specialty flooring. A strong cleaner may remove buildup, but it can also leave discoloration or damage that costs more than professional cleaning.
Gather Supplies for a Move-Out Clean
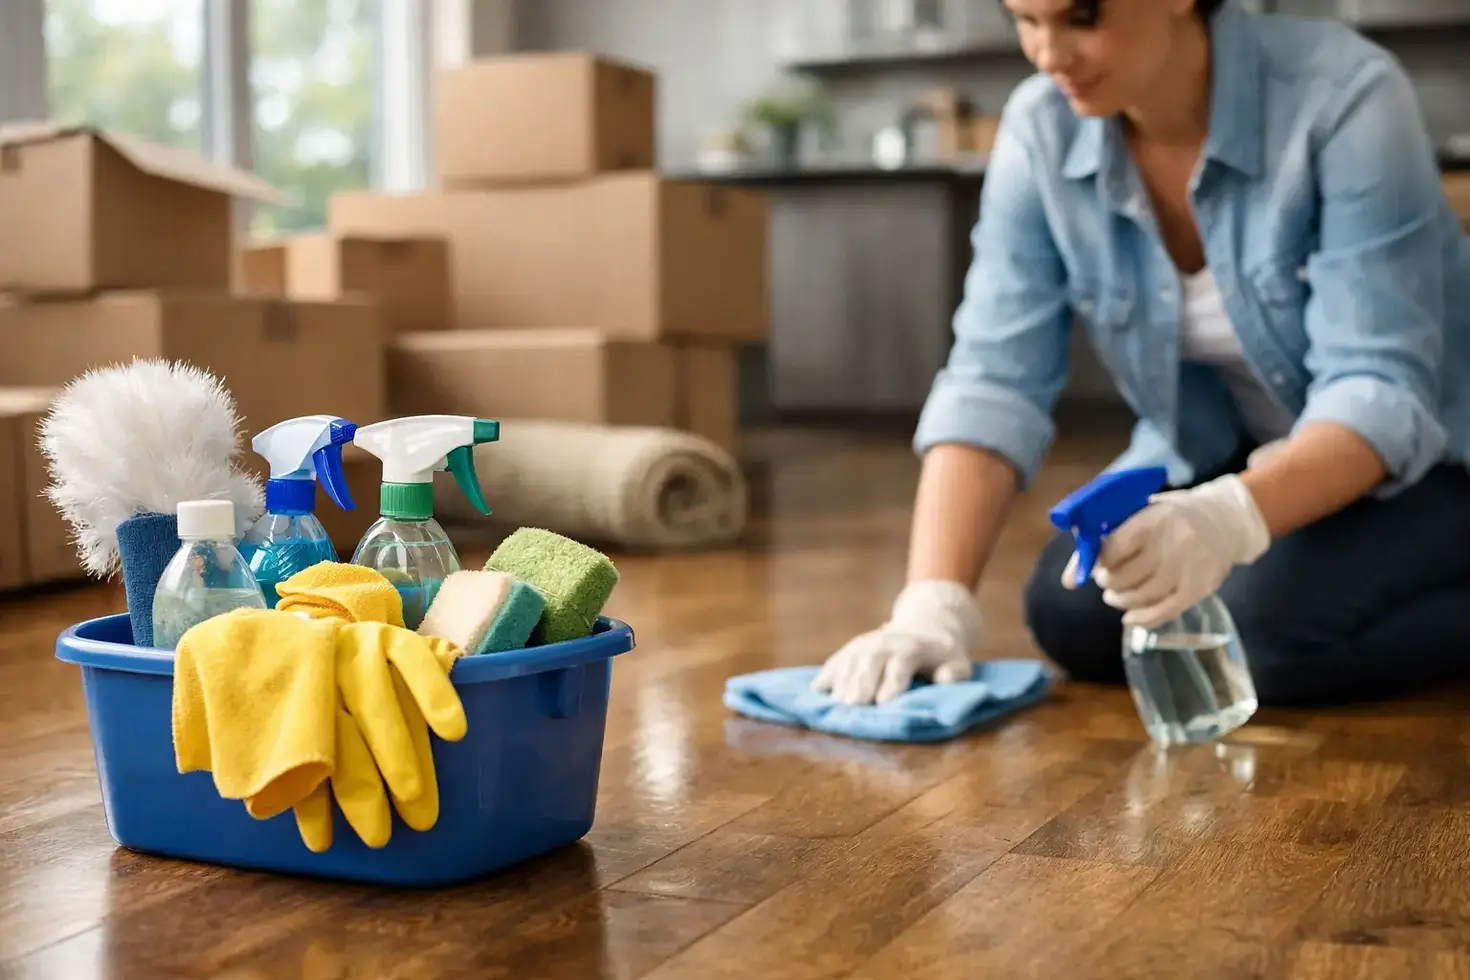
You do not need a cart full of products, but you do need supplies that handle grease, soap buildup, dust, and floors. Keep them in one caddy so you are not searching for a scrub brush halfway through the kitchen.
For most homes, have an all-purpose cleaner, glass cleaner, degreaser, disinfectant, microfiber cloths, non-scratch sponges, a scrub brush, a vacuum with attachments, a mop, and trash bags. Gloves are useful for bathrooms, ovens, and any cleaning involving old residue. If you prefer environmentally friendly cleaning options, choose products appropriate for the surfaces in your home and follow the label directions.
Open windows when possible, especially while using degreaser or bathroom products. Never mix cleaners. Bleach and ammonia, for example, can create dangerous fumes.
How to Clean Before Moving Room by Room
A room-by-room process keeps you from overlooking the areas that are normally covered by furniture or everyday belongings. Work from the highest point in each room to the lowest: ceiling fans and vents first, then walls and surfaces, then baseboards and floors.
Kitchen
The kitchen usually takes the most time because grease settles on surfaces that may look clean at first glance. Empty cabinets and drawers completely. Vacuum out crumbs, then wipe the interiors, handles, and cabinet fronts. Pay close attention to the cabinets near the stove, where cooking residue builds up.
Clean the refrigerator after it is emptied and unplugged according to the manufacturer’s instructions. Remove shelves and drawers if possible, wash them, and dry them fully before replacing them. Do not forget the top, sides, door seals, and floor underneath.
The oven can be one of the biggest move-out trouble spots. Remove racks, clean the interior, wipe the oven door glass, and clean the cooktop, knobs, hood, and backsplash. A self-cleaning cycle can help in some cases, but it is not always the right choice for every appliance or moving timeline. If there is heavy baked-on grease, oven cleaning is often worth assigning to a professional.
Finish with the sink, faucet, disposal area, countertops, light switches, and kitchen floor. Pull the stove away from the wall only if it is safe to do so. The space behind it often contains crumbs, grease, and dust.
Bathrooms
Bathrooms should be cleaned after personal care items, towels, and shower products are packed. Start with the exhaust fan cover, light fixture, mirror, and medicine cabinet. Then clean the vanity, drawers, counter, sink, faucet, toilet, tub, shower walls, and shower door or curtain rod.
Soap scum and hard-water spots may need time to loosen. Apply the appropriate product, let it sit as directed, then scrub and rinse. For toilets, clean under the rim, around the base, and behind the tank. Wipe down handles, switches, and door knobs as final touchpoints.
If mildew is present in grout or caulk, take photos before treating it, especially in a rental. Some staining may be the result of aging materials or ventilation issues rather than ordinary cleaning needs. Documenting the condition can be helpful if questions arise later.
Bedrooms, Living Areas, and Hallways
Once furniture is removed, vacuum closets, clean shelves, and wipe closet rods. Dust ceiling fans, blinds, shutters, vents, window sills, and baseboards. These areas make a home look noticeably cleaner, yet they are easy to miss when the room is furnished.
Spot-clean walls where there are fingerprints, scuffs, or marks near doorways. Avoid over-scrubbing painted walls, since aggressive cleaning can remove paint or create shiny patches. Clean interior windows and mirrors with a lint-free cloth for a streak-free finish.
Vacuum carpet edges and under any remaining furniture. If the carpet has pet hair, odor, stains, or visible traffic patterns, a standard vacuum may not be enough. The right next step depends on the rental agreement, carpet condition, and whether a deeper treatment is required.
Laundry Room, Garage, and Outdoor Areas
These spaces often become dumping grounds during a move, so schedule them near the end. Wipe the washer and dryer exteriors, clean the lint trap area, and remove any detergent residue from shelves. Check behind appliances for dust, socks, or forgotten items.
In the garage, remove trash, sweep corners, and check shelves or cabinets. Do not leave paint, chemicals, batteries, or bulky items unless the property owner has confirmed they can remain. Most moving crews will not take hazardous materials.
Sweep patios, balconies, entryways, and walkways. Pick up pet waste, remove personal decorations, and clear any outdoor storage. If landscaping is part of your lease or sale agreement, complete the required basic upkeep before the final inspection.
Do Not Skip the Final Details
After the home is empty, walk through with your phone flashlight. Light angled across a surface reveals dust, crumbs, streaks, and marks that normal overhead lighting can hide. Open every cabinet, drawer, closet, and appliance. Look behind doors, under sinks, and along baseboards.
Make sure all trash is removed, including items in outdoor bins if required. Replace burned-out bulbs only if they were working when you moved in or if your agreement makes that your responsibility. Take dated photos and videos after cleaning. For renters, this record can support your security-deposit request. For sellers, it confirms the property was left in presentable condition.
When Professional Move-Out Cleaning Makes Sense
A DIY clean can work well when the home is lightly used, you have enough time, and you can access the right equipment. It becomes harder when you are coordinating movers, work schedules, children, pets, key handoffs, and utility shutoffs all in the same week.
Professional help is especially useful for deep kitchen cleaning, bathrooms with buildup, blinds and shutters, ceiling fans, cabinet interiors, ovens, and pet-hair removal. Motherhood Cleaning Services provides move-in and move-out cleaning for Riverside-area households that need dependable support and clear service options. A professional appointment can free up your final day for the parts of moving only you can handle.
A clean home does more than check a box at the end of a move. It gives the next resident a better start and lets you hand over the keys knowing the job was handled with care.


Comments